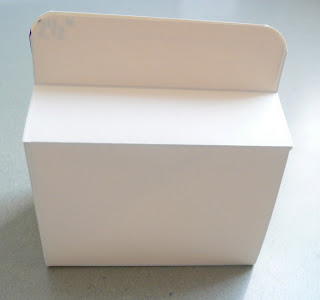
Ok, here we go! Grab an 8.5 X 11 piece of card stock (and some chocolate to fill your new box with). {{You could try this with DSP, but if you plan to fill it with chocolate (the perfect gift!!) I would recommend using cardstock!}}
Turn it on it's long side and score it at 1", 2", 4 1/2", 6 1/2", 9" and 10". Phew! That was a lot of work! Grab and eat one of the chocolates...yum!
Now flip your paper over to it's short side and score at 2 1/2" and 6" like this:
Now cut out the four corners like this:
Now round the corners of the two stick-y out (technical term!) tabs like this:
Score the four new corners diagonally like this:
Since that was harder than it looked eat another piece of chocolate (or even two!)! Ok, NOW would be the time to do any stamping while the project is still flat!
Your box should look like this after all of that folding:
...and like this:
Once all of your stamping and folding is done fold in the corners (that were scored diagonally) and lay them flat against the sides. You will need to secure them to the sides with either a brad or with sticky strip. I always use sticky strip for my 3D projects because snail just won't hold up to the job!
This is how it should look secured (minus my finger!). You guessed it...now have another chocolate. :)
Now hold the two top flaps together and using a hole punch or Crop-o-dile, punch two holes into them side by side about an inch apart. You are going to thread a ribbon through to tie into a bow or knot to secure the flaps together and to be decorative! :)
Ok, almost done!
Mine does not have the holes you, but you can figure that out!
There you go...an easy box from one sheet of 8.5 x 11!
Here is a flashback to the two I made using this design:
Hope this was clearer than mud and that you are able to make sense of it! LOL If you have any questions, please feel free to e mail me! :)
I will be back soonest with more to share! Have a wonderful day!


Cute box & thanks for the tutorial!
ReplyDelete