

I made the charm and attached it to the chain with a jump ring! I added fasteners to the end. I found the chain, jump rings and fasteners at a local craft shop.

To make the charms I started out with the large bottle caps that Stampin Up! sells. I think you get 16 of them in a package so they are very reasonable and you can make a ton of charms! They can be found in the Spring mini catalog.

First thing we are going to do is to run the bottle caps through the Big Shot facing up! You are going to use your multi purpose platform, but you MUST open it all the way up!! Use NO tabs!! Otherwise you will squash your bottle caps too much! Ask me how I know!! ;) Sandwich them between the two B pates and roll em on through! They smoosh very easily! :)

Here is a picture of a beautifully smooshed cap!

This is a good cap and one that got smooshed too much! LOL
Next you are going to stamp your image! You can use any stamps you want as long as the image you want fits into a 1" circle!

After you stamp it you are going to turn it upside down onto your Versamark pad and cover the image. Then cover it with clear embossing powder and shake off the excess.

(Please pardon my glare!)
Use your heat gun to emboss it! This will keep your ink from running later!

Now use your 1" circle punch and punch out your stamped and embossed image! You can add rhinestones or pearls or tiny little punch outs here! Adhere it into the center of your bottle cap (Tombow liquid Adhesive works great for this!).

Once your image is in place you are going to fill your bottle cap with Crystal Effects. Fill gently to avoid getting air bubbles. If you do, work them out with the bottle tip. This takes hours to dry so go make yourself a sandwich or go take a nice loooong walk! :)
Here are a couple that I made that are still drying. The Crystal Effects will be cloudy until it is completely dry.

Once it is dry you can punch a small hole in the top using your 1/16" hole punch. Punch it into the rim.

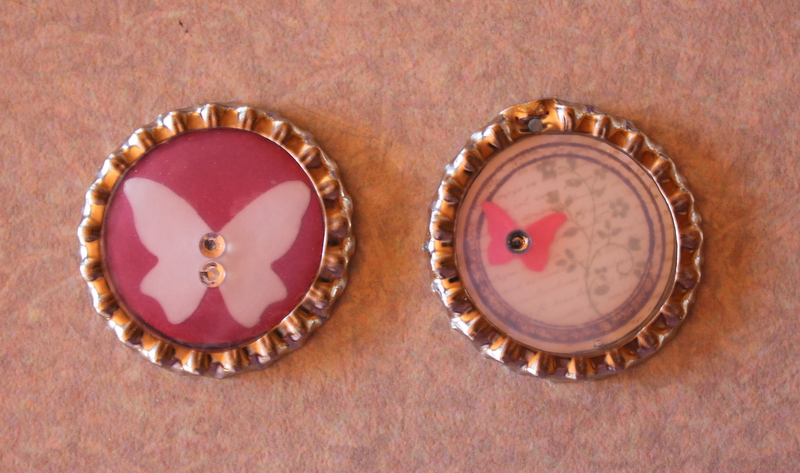
Here are a couple more that I made. The Crystal Effects is all dry here. :)

Here is the first one I attached to a chain. I added a key which sadly is retired, but I just LOVE, LOVE, LOVE keys and have been saving this one for a special project!
I had so much fun making these and plan to make oodles more!! Try it out if you haven't yet!!
Hope that you have a wonderful day! I will be back soonest with more to share!

Awesome, AnnMarie!
ReplyDeleteOh AnnMarie - This is awesome. Thanks so much for the instructions. I am going to have to try this!
ReplyDeleteI'm so glad you shared this, I wasn't that excited about the bottle caps when I saw them in the catalog, but after seeing how you made yours, I want them!
ReplyDelete