
Hello there! Happy Friday to you! I have had several requests for some how to info on the shadow box that I shared yesterday with you, so I thought I would make a quick tutorial and share it too! You can find yesterday's box here:
http://annmariesstampingadventures.blogspot.com/2018/01/stamp-of-weekcoffee-cafe.html
Please note that this is not my original creation and it goes waaaaay back, so I am not even sure who to give credit to. If it was your original idea though, please contact me and I will give you credit for this cutie! Here is the one I made today with the how to's following below it!

I used the gorgeous new Cake Soiree' stamp set and coordinating Framelits to make this. Here it is standing up.

Laying down!

View from the top!

View of the inside (showing all three layers)!

Front panel all fancied up! I will keep details brief here because of the following tutorial, but am more than happy to answer any questions you may have!
Here are the how to's I promised:

You will need to start with 2 pieces of card stock each measuring 4 1/4" x 8 1/2". I used Basic Black for my front and Pink Pirouette for my back, but you can use any colors you'd like!

Next you will need a light or neutral colored piece of card stock for the sentiment or background piece. This piece will be adhered to the very bottom layer, but facing you. It should measure
4" x 5 1/4".
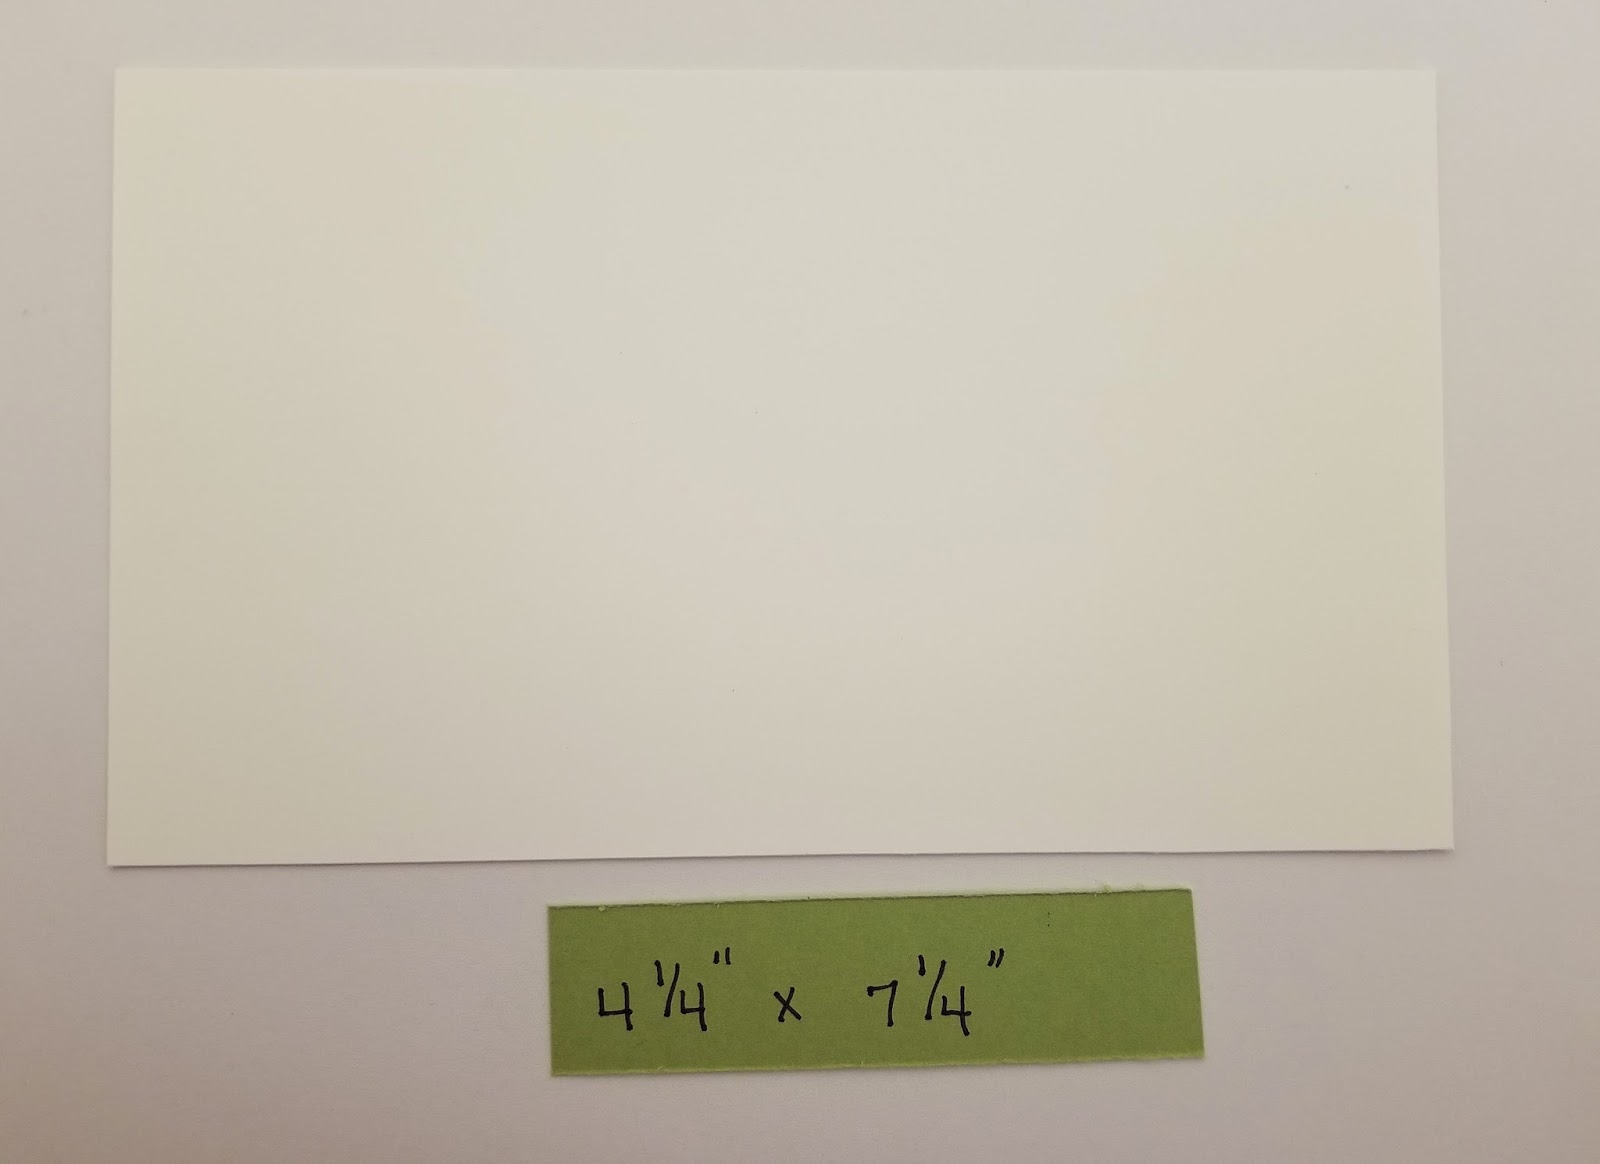
Next you will need a piece of card stock measuring 4 1/4" x 7 1/4". This will be your center layer. I used Whisper White, but you can use any color you'd like! If you want to be able to fold this card for mailing I suggest leaving out the center piece. If you are just planning to display it standing up then add it. It does add an extra layer for visual interest!
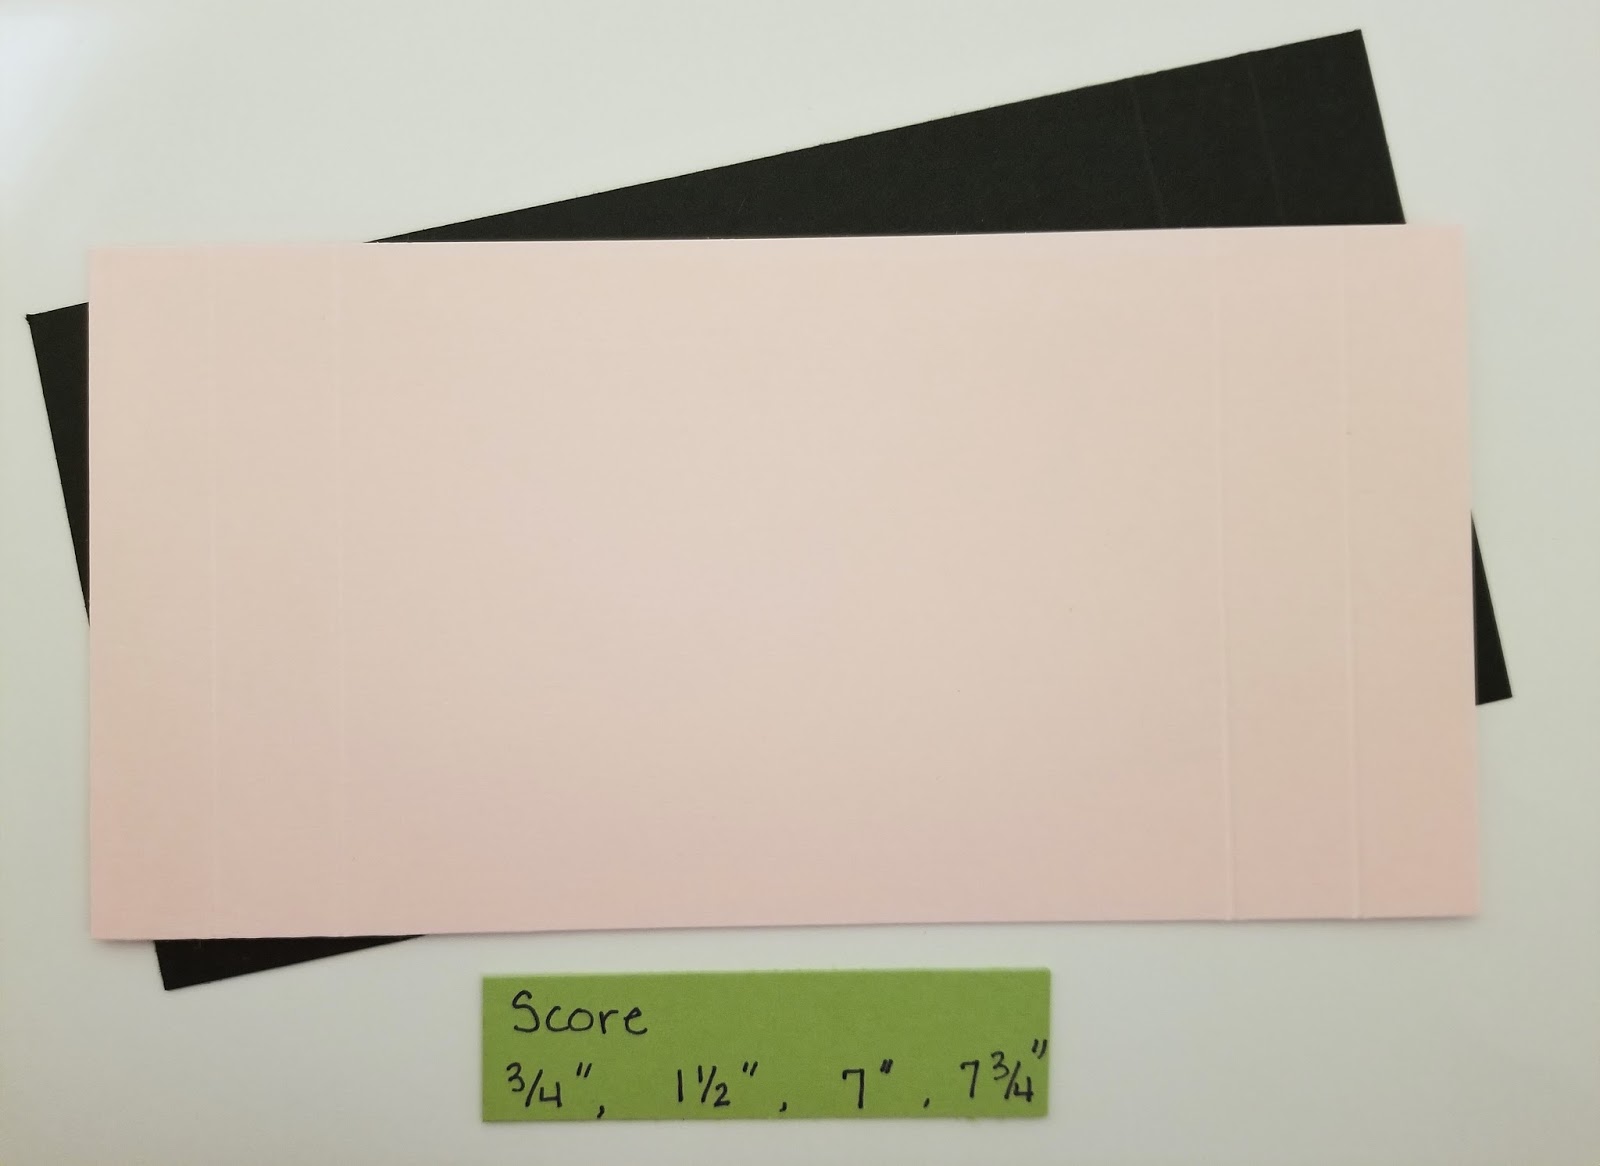
Ok, let's start to build the card! You are going to score your front panel and back panel @
3/4", 1 1/2", 7" and 7 3/4".

Next using the Framelit (or punch!) of your choice cut out a shape from the front panel.

You will be cutting the same shape from the middle panel.

Lay your top panel on your middle panel and trace the shape, so you will know exactly where to cut it from.

This will assure that you can see straight into your shadow box.

Here both pieces have been cut out. Be sure to keep those little guys for another project!!

Now we are going to fold our front and back panel. They both get folded the exact same way. Mountain, valley, mountain! If they do not fit together like this, simply refold! Use your bone folder to get nice crisp folds.

Next take your smaller piece (without the hole!) and adhere it to your back panel.

Time to do your background stamping. I think a sentiment looks great here, but you can stamp anything you'd like! To get your image lined up I would recommend laying your top panel on your bottom panel and stamping with it on place.

Here is my background all stamped up! You can stamp as much of the back ground as you want, but you really only see the center.

Time to add something to the center panel. I added these small leaves so that they peek into the hole, but do not really obstruct the sentiment on the back panel.

Let's get sticky! I added Tear and Stick tape the the side panels of the back panel.

I adhered the middle panel onto the back panel matching the ends up together.

Then I added more Tear and Stick Tape to the middle panel on both ends.

I adhered the top panel to the middle panel. It's taking shape now!

It should look like this at this point.

Then I added my embellishments and stamped images to the front. You can do this before adhering it down, but I like to wait so I can see how they will look and not block the two inner layers.
If you have any questions at all, please feel free to ask! Email or leave me a comment here!
Here are the supplies I used to make my shadow box today:
Product List


Some other really note worthy things to discuss are that the new Occasions catalog is now live and it is a-maaaaaz-ing!!!

You can click that to take a peek at the catalog!
ALSO!!! It is Sale-A-Bration time!!!!! For every $50.00 you spend you get to choose free product from the Sale-A-Bration catalog!!! *thud....falls over!!*

Click that one to take a gander at the Sale-A-Bration goodies!!
In addition to all of that fun...if you have considered signing up to be a Stampin 'Up! Demo now is an awesome time!! You get $125.00 worth of product of your choice plus 2 extra free (loooove that word!!) stamp sets of your choice! I would love to have you on my team! Feel free to contact me with questions!
Ok, I am off to take a walk! I have resolved to make walking a part of my daily routine this year! I hope that you have a super day! Be sure to stop back by! I have lots more to share!

No comments:
Post a Comment